Along with its ability to create high-quality soft-touch grips, the overmolding process benefits all industries, including medical devices and military applications. But what is overmolding, and how do you know if it's suitable for manufacturing your products?
Definition and Purpose of Overmolding
Overmolding is a two-step injection molding process that uses multiple materials to create a single, integrated product.
In overmolding, a base material — known as substrate — is injection molded first to form the core of the final product. Then, a secondary material — often a soft, flexible thermoplastic elastomer — is injected over or around the substrate to create an outer layer. This enhances the final product's functionality, aesthetics, and durability.
Overmolding is a versatile process that offers design flexibility and functionality. Its purpose is multi-faceted, depending on the requirements and uses of the product it's producing.
The overmolding process offers:
- Enhanced functionality: Combining different materials makes integrating multiple features or functions into a single component possible. For example, overmolding can be used to add soft, grippy surfaces to handles or buttons for improved usability.
- Improved ergonomics: Soft and textured surfaces, overmolded onto rigid substrates, can significantly enhance user comfort and reduce fatigue.
- Durability and protection: Overmolded materials can provide impact resistance and shock absorption, protecting the hands holding the grips and the tool.
Steps Involved in the Overmolding Process for Plastic Injection
From design to execution, the overmolding process of plastic part design is a complex sequence of steps that require careful planning, precision, and expertise.
Select the Materials
Since overmolding is a versatile process, there are multiple considerations to juggle when selecting materials. First and foremost, the materials need to be compatible with one another. You'll also want to consider material properties like rigidity versus flexibility.
Common rigid substrate materials include:
- Acrylonitrile Butadiene Styrene — ABS
- Polycarbonate — PC
- Polypropylene — PP
- Polyethylene — PE
- Polyoxymethylene — POM
- Polymethyl Methacrylate — PMMA
- Polyether Ether Ketone — PEEK
Flexible overmolded parts, on the other hand, are commonly made of materials such as:
- Thermoplastic Elastomers — TPEs
- Thermoplastic Polyurethane — TPU
Design the Mold
Several factors come into play during mold design. Two molds are required, one to manufacture the substrate and the second to produce the overmolded component due to the differences in material between the substrate and the overmolded part. This design is essential to facilitate the precise bonding of these materials during the injection molding process.
Additionally, thoughtful placement of gates and vents will help to achieve uniform distribution of the molten plastic.
The mold design will also incorporate the final stages of your component's creation. This means it will accommodate the inherent characteristics of the materials used, including any shrinkage that may happen during cooling and efficient cooling channels, to maintain consistent cycle times. Ejection mechanisms, such as ejector pins, will also need to be kept in mind.
Injection Mold the Substrate
The substrate injection step introduces your rigid material into your mold cavity. Within the injection molding machine, your rigid substrate material undergoes a controlled process to heat it to its melting temperature. The injection molding machine uses high pressure to inject the molten plastic into the mold cavity.
The injection phase is carefully monitored to ensure the uniform and complete filling of the mold cavities. Proper material flow and cavity filling are paramount to producing substrate parts with accurate dimensions and structural integrity in the substrate parts.
Once the substrate material has cooled and fully solidified, the mold opens, and the substrate is ejected.
Overmolding
After successfully creating your substrate, the second part, the overmold, is added. Once again, your material is heated to melting temperature and injected into the mold over the substrate.
As the overmold material cools and solidifies, it forms a secure bond with the substrate. Cooling channels integrated into the mold help manage the cooling process to prevent premature separation or deformation.
Remove of the Completed Molded Product
Once the overmold has cooled and adequately bonded, the final product is carefully removed from the mold in this final step of the overmolding process. Ejector pins then apply force to your product to safely push the plastic materials out of the mold. After ejection, the product is inspected for quality.
Work With Crescent for Your Next Project Requiring Overmolding
Overmolding components are in the products people come in contact with every day. For these products to deliver a satisfying user experience and stand the test of time, they must be made carefully. Crescent Industries has been creating plastic injected parts for decades, and our experience shows in the high-quality overmolding parts we produce.
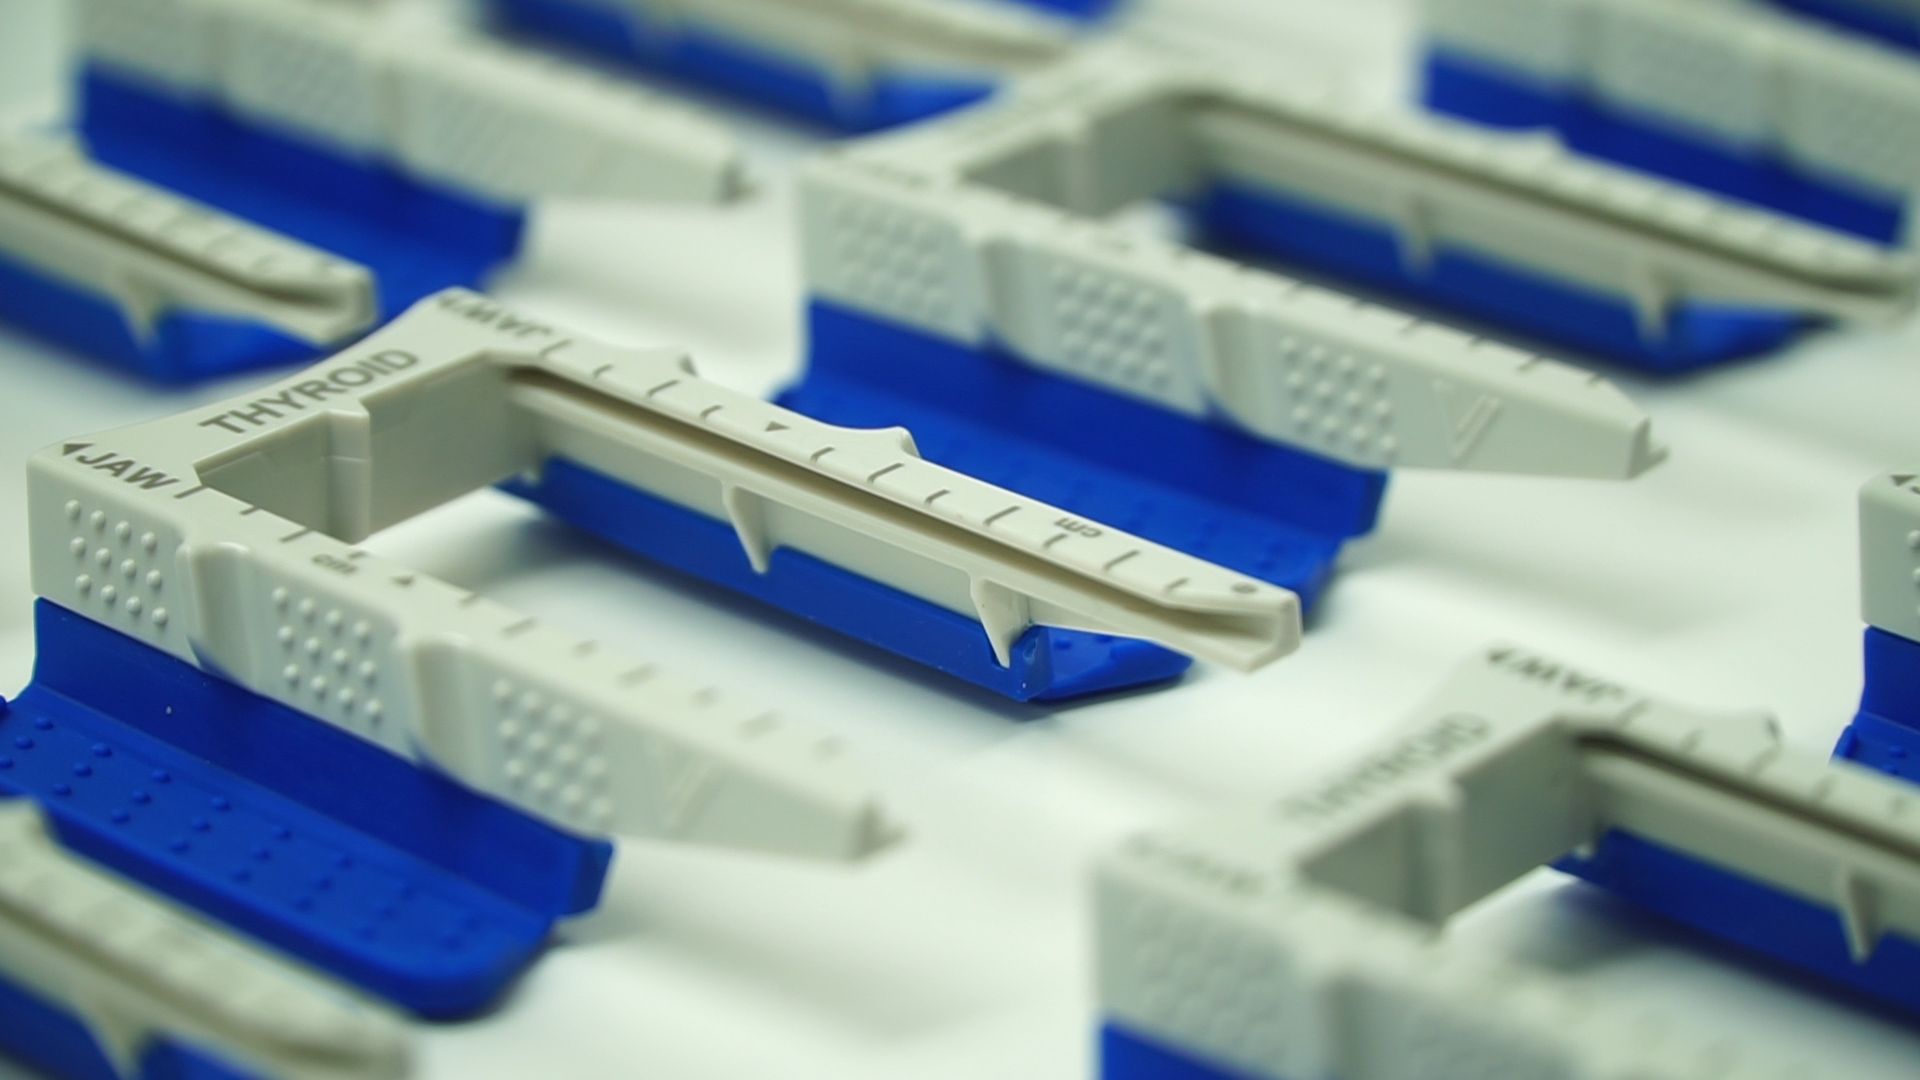
Whether creating precision medical instruments with grips that maximize surgeon comfort or overmolded parts that can withstand the heat and pressure of the defense industry, Crescent Industries is there to deliver exactly what you need.
Learn how we can use the overmolding process to help you.